Stamp Club June 5 and 7, 2010
All images and supplies are Stampin' Up! unless otherwise noted.
Please leave a "Hi" comment just so I know you've visited. I can't ever tell who has come to look at the blog! (Added info: I've realized that where to leave a comment is kinda hard to find -- scroll all the way down to the very bottom of this blog entry. Right under "Stamp STAMPED BY and put your name and initials" is the word "comment" that you can click on.)
PUNCH CARD
This first card was an "advertisement" for punch class to be held soon - Holiday Punches. 20 cards or other creations. I just loved the little car! We didn't make this one in class - we just passed it around.
Card is CASED from lisalisella on splitcoast uploaded March 25, 2010. See a copy of her card
here.
The little card is made from the Modern Label Punch, the large oval punch and the small oval punch. The stamp set used for the driver and the presents and the sentiment is Loads of Love accessories. The puffs of smoke are made with the Trio Flower Punch; the lines in the road are made with the Horizontal Slot Punch - both these punches are retiring at the end of June. The sentiment punches are the Large Oval Punch and the Key Tag Punch. Also used is the 1/2" circle punch for the wheels; the hubcaps are made with the larger circle on the Crop-a-dile. The cloud DSP is from the Sale-A-Bration paper pack.
HAPPY BIRTHDAY BAG

This was our From the Past project - but made with the new Build-A-Wheel wheels. I've been waiting for a larger "Happy Birthday" wheel so I could show our new stampers this, and these new wheels fit the bill perfectly! I love it - you can change the wheels around; add different ones, ink different blank triple cell cartridges, etc. Laneah showed us how to do these bags a long time ago - I had to relearn them before teaching them though (it was a long time ago she taught us)! This one is scotch taped in the back, which means the recipient would tear the bag up to open it; Laneah had shown us, and I did a different bag and punched two holes and threaded ribbon through. I did learn as researched this that it works better if your fanfolds are about 3/4" of an inch and if you do 5 or 6 (I started off trying to make smaller folds before I went to look up directions) folds to fold up toward the middle that way. It also helped that we opened the bag and then did the fanfolding, etc. The bags are plain white lunch bags from the store.
Also, since it is close to Father's Day - I showed our new stampers the Father's Day shirt card we did last year using the inside of security envelopes. You can see a picture of that card on the May 2009 listing on this blog. See
here.
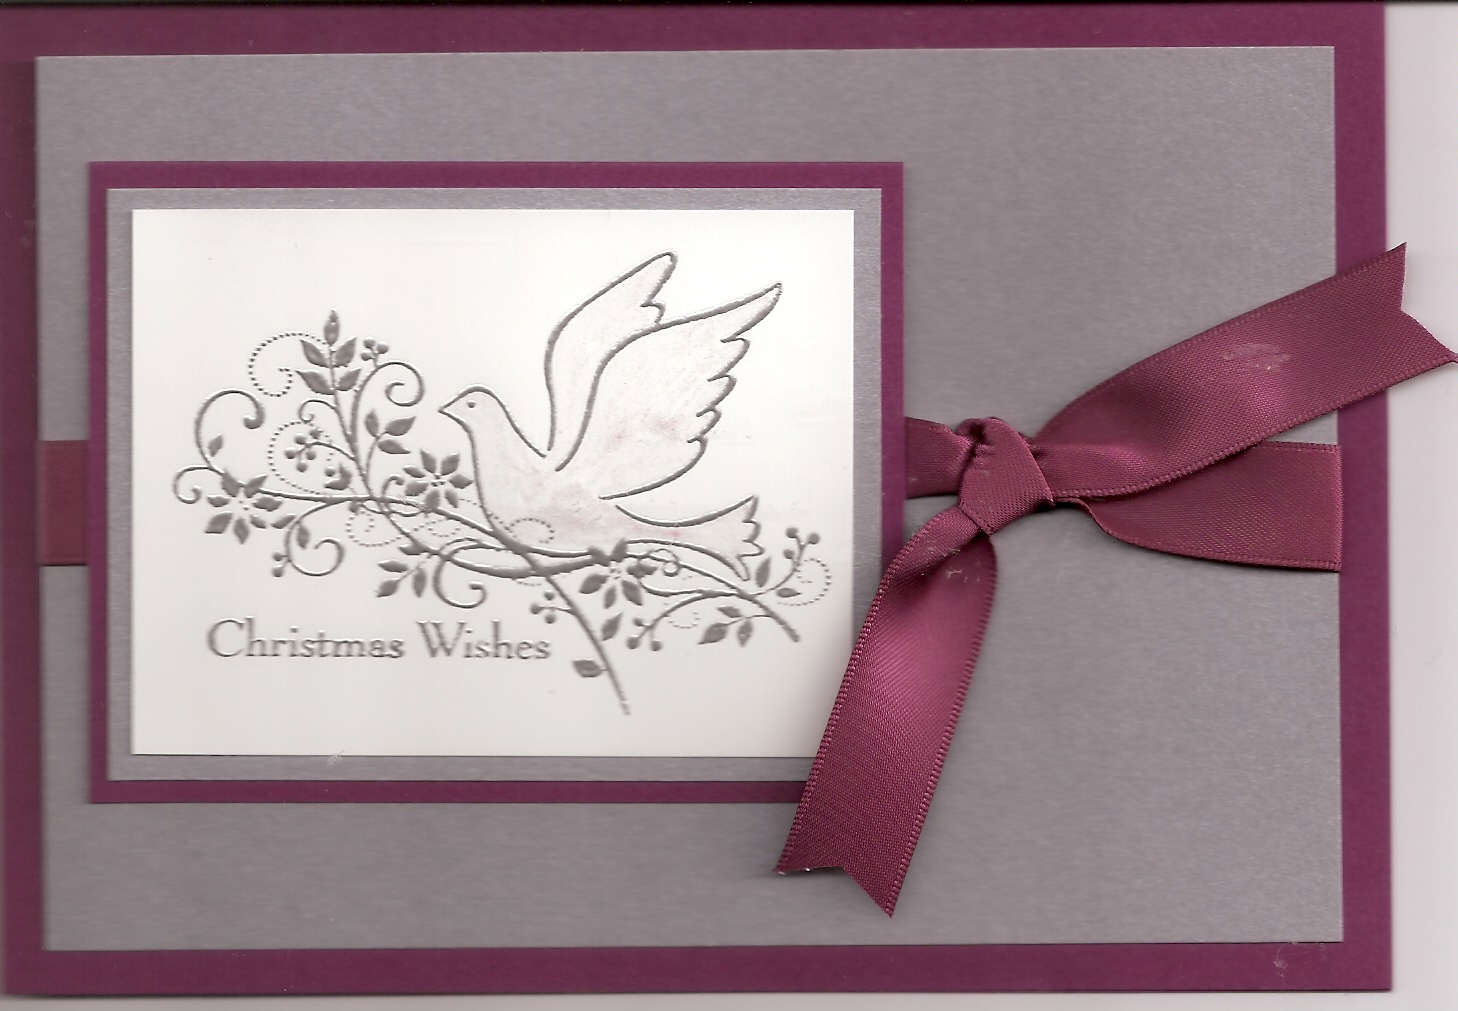
MEDALLION CARD
This card was cased from bkbaker1222 uploaded on splitcoast February 23, 2010. See her card
here.
The objective of this project was to show how the Medallion Stamp looked differently heat embossed onto textured cardstock. The textured cardstock used is Bermuda Bay; the white organdy ribbon is looped under on the left hand side. Bermuda Bay piece is mounted on Basic Black cardstock which was then mounted on white card base.
The card below was heat embossed on regular (i.e., smooth) cardstock - this was a sample card (we didn't make it at Stamp Club) to show the difference between embossing on the plain cardstock vs. the textured cardstock. Cardstock colors are Kraft (soon to be called Crumb Cake) and Chocolate Chip mounted on Whisper White card base. Brown 5/16" brad.
This card was CASED from ju012835 uploaded to splitcoast on March 24, 2010. See her card
here.
The sentiment is from Teeny Tiny Wishes. The ribbon is Chocolate Chip Satin ribbon.
PANSIES CARD
As always, I am amazed when people come up with different ways to use punches. These pansies are made with the Butterfly Punch. You just punch out two butterflies from the Shimmery White cardstock. We then colored them using an Aquapainter and the Watercolor Crayons. The fit them together, punch a hole with Paper Piercer, and hold them together with clear rhinestone brads. The cardfront is Very Vanilla cardstock that was run through the Big Shot with the new Lattice embossing folder. I REALLLLY like this embossing folder. It has a pretty embossed design on both sides. That Lattice piece is same as card base and is mounted on Vanilla card base. Sharing in your Sorrow is from the Thoughts and Prayers stamp set. Ribbon is Very Vanilla satin ribbon. The sentiment was stamped in Elegant Eggplant ink.
I didn't realize until I was looking at the various projects made with these pansies how many different colors of pansies there are. The main image of pansies in my head were the yellow and purple ones. So I googled pansies -- there are a whole LOT of colors! Once you get into making these pansies, it's hard to stop, especially if you've printed off the pictures of pansies from the google search. In addition to the watercolor crayons, they can also be colored using reinkers (I made a Cameo Coral outside and yellow centered one that turned out beautifully - loved those two colors together ) - the reinkers make it more soft looking; with stamp pad palette; and one could also make a palette with markers. Someone asked about watercolor pencils -- I need to try that one. Please ignore the fact that one of the pansies in the card below has a rhinestone brad and one has a regular gold brad. I was making a bunch of them and was afraid to use too many rhinestone brads (since I wanted to make sure there were enough of them for Stamp Club), so I started using the regular brads. I definitely plan to make some more of these. I have a paper plate full of already colored pansies and punched out a bunch more butterflies before putting up those supplies. I tried different pansies on this card, but liked the ones with the darker outside against the vanilla base.

This card was a combination of several I looked at among quite a few others. (Do a search on splitcoast on pansies!) The first one I looked at was by Dawn Olchefske. She has a Youtube video. See her site
http://www.dostamping.typepad.com/.
ON A PEDESTAL CARD
I found this card a while back and liked the way the tag pulled out.
Card is CASED from justbehappy uploaded on splitcoast July 11, 2009. See her card
here and
here.
Card base is white (vertical top fold); Chocolate Chip is next layer; Melon Mambo (4" x 5 1/4") is next layer. Those layers were assembled and set aside.
Then the pedestal was stamped about 1/4" up from bottom edge of 2 1/2" x 3 1/2" white small layer. With the Crop-a-dile small hole punch part, punch a hole on top of the pedestal at each end. Then using Cutting Mat and Craft Knife, (and metal ruler if desired), cut a slot (2 cut lines) from one hole to the other. One cut line should follow the top of the pedestal. (The tag will eventually slide in here.) I found it easier to cut the line along the pedestal NOT using the metal ruler. Wendy pointed out that you really need to use a metal ruler when you are using your craft knife. It will make nicks in wooden or plastic rulers and mess up your cutting line.

So that the Chocolate Chip which will go behind the piece above won't show behind the slot, cut a small piece of white cardstock about 1/2" x 2" and put adhesive on one side. Place non-adhesive side behind the slot on the pedestal piece, and, holding that piece in place, position the pedestal piece on the chocolate chip piece. Lay back so that the small white piece adheres to the chocolate chip piece in the proper place. Put that piece aside.
On a 1 1/2" x 3" piece of white cardstock, punch off the two top corners with the Tag Corner punch (retiring 6/30/10). With Crop-a-dile larger hole, punch hole in this tag piece in the middle about 1/4" down.
On tag piece, using Chocolate Chip ink pad and the On a Pedestal stamp set, stamp the square "Happy Everything to You," looking at the sample for spacing. For the cake, use the brush end of markers so can get two colors - color the stamp with the markers. USE THE MELON MAMBO marker first (always do lighter color first so darker color won't mess up the lighter marker, etc.) Check to make sure the whole image is colored well, including the edges.
HUFF on the stamp - this puts moisture back on the ink. Stamp the cake about 1/4" above the sentiment. Ink cherry up using either the stamp pad or the marker and stamp it on top of cake.
5" chocolate chip grosgrain ribbon - fold ribbon in half. Trim ends to point if needed so they will feed easily through the hole. Feed loose ends through the hole, then bring them back through the loop and pull snug.
(Erin did hers a little different - she put the blank tag in the slot and then marked with a pencil where the bottom of the cake should be.)
Put tag in slot of pedestal piece so that the bottom of the cake is positioned on the top of the pedestal and is also centered horizontally between the two holes. Turn the pedestal slot piece with the tag in it over - outline the tag lightly on the back of the pedestal piece with pencil. That will tell you where NOT to put adhesive. Tag tag out. Put adhesive outside the pencil lines on the back of the pedestal piece - top above the slot, on the sides and on the bottom. See picture below.
Adhere white pedestal slot piece to chocolate chip piece that has the small white piece on it. The little white piece should already be positioned so that there is white behind the open slot.
Test tag to see if it fits well. It is usually tight enough that it stays in place - i.e., the cake stays on top of the pedestal.
Make sure you have the card base positioned correctly. Then adhere the pedestal panel to the Melon Mambo/Chocolate Chip/card base layer.
Trim ribbon ends if needed.
Stamp Happy Birthday from Happy Everything (retiring 6/30/10) set in the inside.
Stamp STAMPED BY on back and write your name or initials.