We had stamping both Saturday and Monday this month - some came on Saturday and others came on Monday, depending on their schedule. It worked out well to spread everyone coming over the two days.
I plan to do several postings over the next week or so. This posting will consist of the cards and technique we did on Saturday/Monday. Then a later post will show some cards I had on display - one showing the Shimmer Paint spray mist.
And "Eddie" asked if she and I could do a stamping program (She is the Program Chairperson) for Ambassadors of Georgia Power - so we did! We had a fun time. A later post will tell you more about that.
And then I've had such a good time using the Crazy for Cupcakes set, I thought I'd upload some cards done using that set.
As I was gathering cards to display at the Georgia Power program - cards showing different techniques we've done over the months -- I thought I'd post some of the cards showing techniques we learned before this blog was begun.
OK - here's November stamping day cards:
NAPKIN TRANSFER TECHNIQUE
This is a great technique to use when you have leftover decorative holiday or party napkins. This card above was Method 1 we learned with regard to the Napkin Transfer Technique. This one uses Freezer Paper, which I found at the grocery store. The biggest challenge with this is separating the decorative top layer of the napkin from the rest of the napkin. I looked to see if the napkin was 2, 3 or 4 ply so I would know how many layers were involved. I tried just separating them and didn't ever manage to do that. Then I read somewhere about making a small tear in part of the napkin you know you're not going to use and then rolling the edge of the tear - that worked and I was able to separate the top decorative layer from the rest of the napkin. (I tried the technique without separating the layers - does not work well - paper bubbles.)
So - for this technique - you cut a piece of freezer paper a little larger than your planned card front size (in this case A2 card front). Use a DRY IRON - make sure all water is out of iron and that it is not on steam. I put the heat level between Polyester and Rayon. You will need several pieces of copy/printer paper to use as protective layers so your iron won't get messed up.
On ironing board, layer a piece of copy paper, the piece of Freezer Paper - SHINY side up, the the decorative napkin layer (pretty side up), then another piece of copy paper. Make sure all the napkin/freezer paper is covered with the copy paper. Then iron, moving iron over the copy paper and applying gentle pressure, for about 30 seconds. Check to make sure all corners and edges have adhered to the freezer paper. If not, cover and iron some more. Then position the part of the napkin (in this case, the leaves) you want on top of a card front and glue the freezer paper to the card front. Then trim excess freezer paper/napkin to A2 card front size. Add sentiment if desired. This technique was explained by Lynn in St. Louis on splitcoaststampers.
 Above is Napkin Transfer - Method 2. This method uses cling wrap, i.e., Saran Wrap. In this case I happened to pick up RED Saran Wrap (didn't realize it was red until later), but it worked fine with this napkin -- just made it a little darker. I also read you could use the plastic that your dry cleaning comes in. Preheat dry iron on Polyester/Rayon.
Most directions for this technique advised using a newsprint paper pad - like a child's doodle pad -- for protection. With this technique, you will be adhering the napkin decorative layer directly to your card front. You will need to separate the decorative layer of the napkin from the rest of the napkin just like in the other method.
So -- open doodle pad and place A2 card front on a thick stack of the doodle pad paper. On top of card front, place a piece of Saran Wrap cut a half inch or so larger than card front on each side. Lay the decorative napkin layer on top of the Saran Wrap. (This napkin piece is larger than the card front also.) Then pull a layer of the doodle pad over the top of the napkin/wrap/card front layer. Make sure there is no Saran Wrap sticking out - you don't want to melt Saran Wrap onto your iron - doubt you would ever get that gooey mess off. Then iron, as described in other method, for about 30 seconds, moving iron and applying gentle pressure. Check corners and edges, iron longer if necessary. Cool. Then trim excess napkin off so that card front is desired card size.

All materials Stampin' Up!
CASED from scrapperLindsey on splitcoast - uploaded November 28, 2008.
This next card is a Criss-Cross Card - a vertical version 5 1/2" tall. Later in the week, when I show other samples, will be a horizontal version. The tutorial for the horizontal version is on splitcoaststampers under Resources. Read this tutorial before reading the rest of this and it may make more sense. You will just cut your 8 1/2 x 11 piece of cardstock in half so that you have two side fold vertical cards instead of the way the piece of cardstock is cut in the tutorial.
For this card, I took two half sheets (5 1/2 x 8 1/2) of Real Red cardstock and folded them in half. I put the two folded cards down on the table with their open sides facing each other and the folded sides on the outside.
Since it is difficult for me to see where the fold is, I put a pencil dot at the top of each card so I can tell where the fold was.
Then I take the card on the left hand side and take the card front and put it on my paper cutter so that I cut a diagonal from the top left to bottom right - and put that card aside.
Then I take the card on my right hand side and cut a diagonal from the dot in the upper right corner to the bottom left corner.
Then, using sticky tape, glue the two rectangle pieces together. So now you have an A2 card that also has triangle pieces on each side, one of which will fold over the other in a few minutes.
For decorative paper, we used 12 x 12 designer series paper Merry Moments and cut a 4" x 5" piece. Then cut it in half diagonally. You may want to use different pieces of paper for these triangles so that you can have different designs on each side. You kinda have to look at the paper and think this out -- if you just cut the one piece in half diagonally, you will end up using one design on one side of the card and the other side on the other side of the card.
Now glue the two triangle pieces onto the triangular pieces of cardstock. There should be a 1/8" border.
Now put some sticky strip on the very bottom edge of the inside of one of the triangles. It needs to be on the bottom edge because if you get it too high, you won't be able to slide your insert card piece in. Also - you need to use the red sticky strip tape for this -- SNAIL or two way glue is not strong enough to keep the pieces together.
Then put sticky strip on the inside of the other triangle and glue it down.
Pocket is made with Tag Punch and Old Olive cardstock. Real Red cardstock Buttons are made with Sizzlits #5 die from the SU! catalog.
For insert, take an A2 card piece and cut 1/4" off one side and 1/2" off the bottom.
The green pull tab is made with the Round Tab Punch - folded in half. Tie the silver elastic cord - which is in the Holiday Mini (deadline January 4, 2010) before gluing it to the top left of the card.
Then slide insert in. I marked where the card front pieces were with pencil. Some just stamped while the insert was in the card and that worked well for them. Stamp sentiment so it shows in the V. We also stamped a sentiment at the bottom of the insert so that you see it when you pull the insert out.
I also tried one with scalloped edges in the V. To do that, you need to move your cut line 1/2" off the diagonal (i.e., move the line out so you have more room) so that you have room for your scalloped edge punch to punch and take off some of the diagonal.

All materials Stampin' Up! (except tissue)
CASED from: Clownsmom - upload group picture November 3, 2009
The make 'n take was the Christmas PJ above. However, I saw a get well one also, so when I was demonstrating how to make the card, I decided to do a Get Well version. I had to work with the tissue in the pocket - had too much tissue beneath the pocket to adhere well - had to trim some. Also, I was going to make both sides of the front with the blue flowers (thought the flowers looked more pajama like), but using the one piece of designer paper cut in half -- that doesn't work - one side has to be the opposite side so that the short and long lengths fit right. So -- to get both sides with the blue flowers will require a little more thought -- and in the middle of teaching and cutting with everybody watching -- I didn't have time to think it through. So the left side ended up being striped since that was the reverse side of the flowered design paper. Base of card is Bashful Blue cardstock; decorative paper is Bashful Blue designer series paper.

All materials Stampin' Up!
CASED from: jacynthe - uploaded to splitcoaststampers on October 1, 2008
Stamp set used: Season of Simple Grace. Embossed in silver. Several people commented that they liked the detail in the robes on this stamp. Layered on Old Olive cardstock. Ribbon is from the Mistletoe ribbon set in the Holiday Mini - I LOVE that ribbon (Ignore the gold edge around the card -- had to put gold paper behind so scanner would pick up all the white of the actual card.) The card I cased from was made last year and was therefore done in Riding Hood Red with the RHR gold trimmed ribbon from last year - and it was beautiful done in red.

All materials Stampin' Up!
CASED from: ScrappyHappy on splitcoast. Card uploaded August 12, 2009.
Real Red cardstock and 5/8" ribbon. Stamp is Dasher from page 208 in the Stampin' Up! catalog - stamped in Real Red classic ink.
Larger Whisper White piece trimmed so that there would be 1/8" border when layered onto the red. Then this white piece was placed in the SU! Petals-A-Plenty embossing folder and run throught the Big Shot.
 This card is made with the Love You Much Stamp Set listed with the Heart to Heart Bundle. I just used a marker to ink the "V" and the flower on the LOVE stamp, then put a button over the flower with a glue dot. This card also shows a simple, flat bow just be looping a piece of ribbon and glue dotting each end down, then looping another strip of ribbon over the middle, and then glue dotting it to the strip of ribbon on the card.
 The Heart to Heart punch (all 3 in one punch), also in the Heart to Heart Bundle and also offered by itself at the end of the sales chart, was used on this card. The hearts were punched out of the white and then the white was layered over Real Red cardstock. (The hugs and kisses image is from the All Holidays stamp set - not a part of this sale.)
 The Full Heart Punch was used on a strip of cardstock held over the white part of this card. This punch is listed in the Framed With Love Bundle, the Simply Said Bundle, and also as a single item at the end of the sales chart. This card was a technique we did early in the year called Roll with the Punches. The strip, which had 3 hearts punched out, was held over a Whisper White strip of cardstock, then a heart wheel was wheeled over it, then Real Red ink was sponged. Take the punched strip off, and you have these sponged, wheeled hearts on your strip of white.
  The Love You Much stamp set and the Heart to Heart punch (listed in the Heart to Heart Bundle) was used on this card. (The "you" definition is from the Define Your Life stamp set, not a part of the sale.)
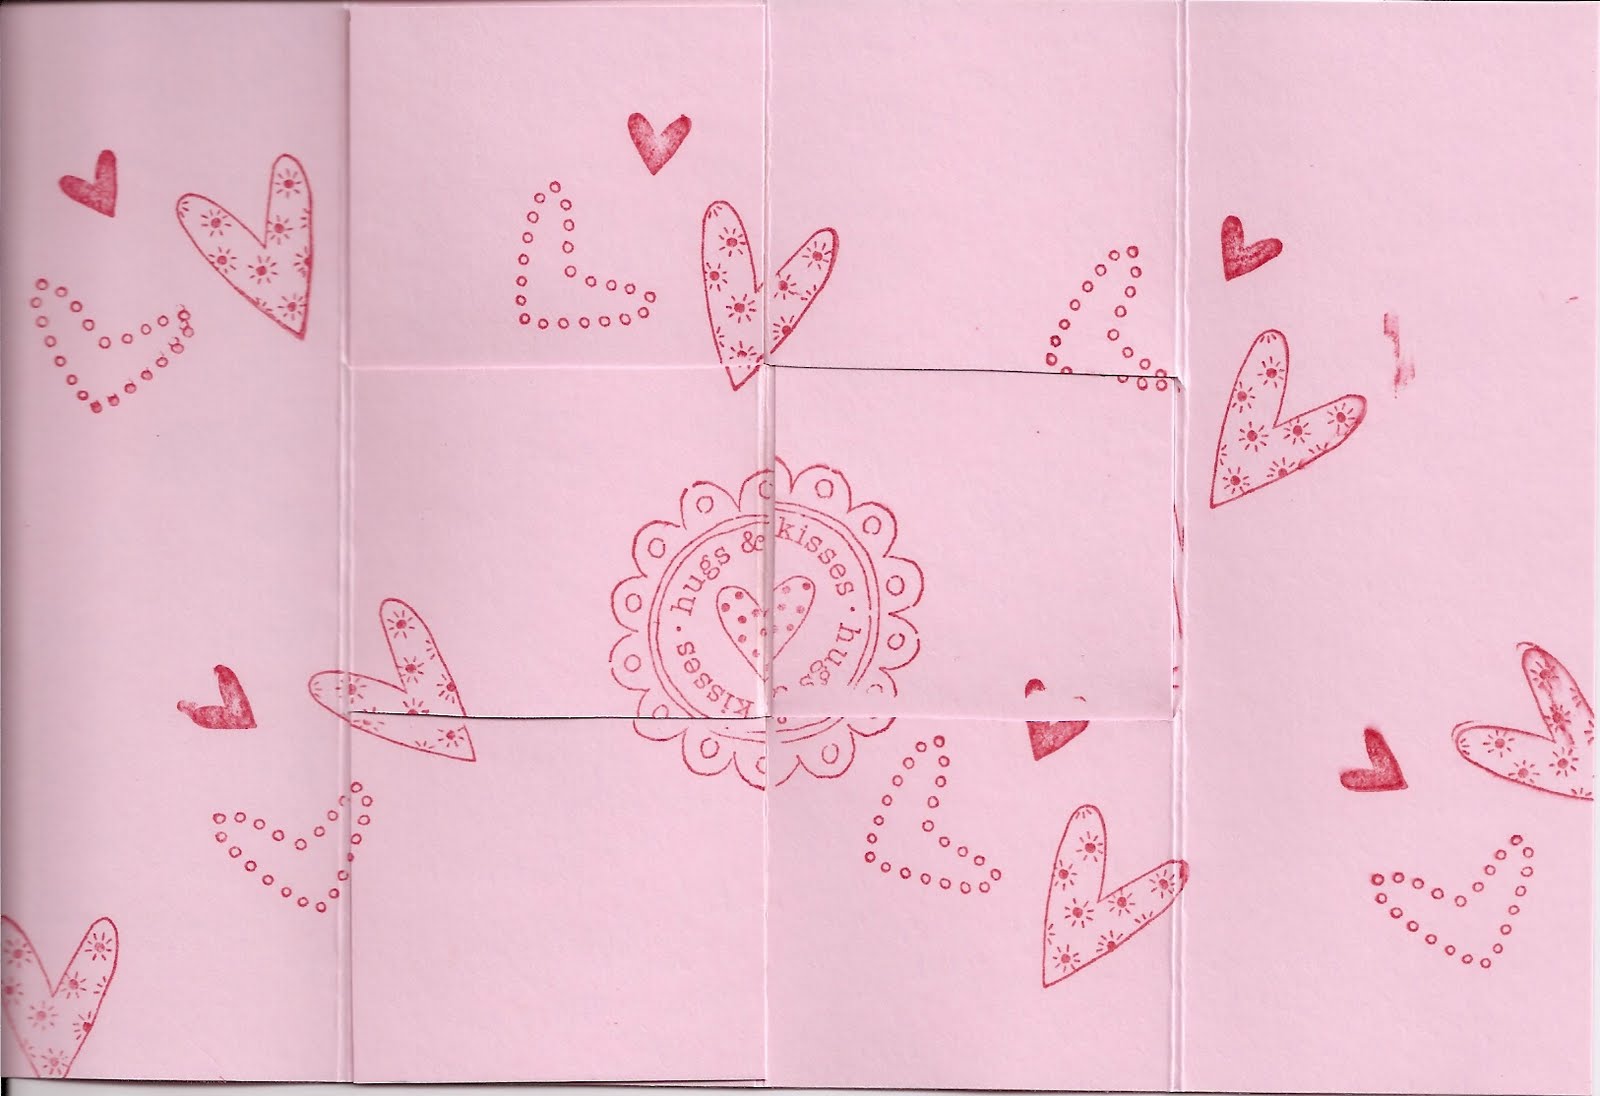 When you open the card, this is what you see -- this is Inside 1 of the card.


 The leaf Thank You stamp from Eight Great Greetings (Ultimate Stampers' Starter Bundle) was used on this card. This was the Rolling Marbles Technique I showed several months ago. (Funny demo story in earlier blog entry.)


